JellyPages.com

Saturday, March 2, 2013

DIY Coastal Letter

I've been getting into the wooden letters lately. I've bought several from various places to decorate different ways. This is my first DIY letter project, and I'm pretty happy with the way it turned out. It took me about 3 hours to make it which is way more time than it should take all of you if any of you choose to make this. As I do this tutorial I will explain why it took me so long. This is a pretty simple and cheap project to do, and I had a lot of fun making it, can't wait to make more letters in the future.


What you need:
Wooden letter (Michaels)
Super glue (4 pack Hobby Lobby $3.77) I ended up using 3 tubes on this project.
Paint (if you plan to paint your letter) as well as painting supplies, whatever you want to use to paint with.
Glass gems (Michaels or you can get $1.00 packs at the Dollar Tree)
Mixed bag of seashells (Michaels) or natural shells from the ocean if you have some on hand.
White rope (Hobby Lobby)
Aluminum foil

The glass gems I used. I got 1 large pack of teal at Michaels and 2 small packs of light blue at the Dollar Tree. I bought too many but my letter was medium sized and I wanted extra for future projects, buy enough to fit whatever size letter you have.


This is the rope i bought and the seashells I bought.


Step 1:
Paint your letter, mine went from white....


To a pretty coastal blue color.


Step 2:
Take your glass pieces and super glue them onto your letter. Sorry don't have any photos of this step, forgot to take some photos while gluing down the gems. Before gluing gems it's best to arrange them on the letter before gluing to see how you want them to go, than glue them down once you have them arranged how you want them.
Step 3:
After gluing your gems on, cut a piece of rope. Loop your rope where you want it on your letter like I did. If you don't like how I did mine you can always do a bow, or swap the rope out for white ribbon and tie a pretty bow. This took me a little bit of time as well. I had to figure out how I wanted the rope to look, if I wanted it in a bow or what, eventually came up with the idea to do the rope this way, reminds me of sailing this way.
Step 4:
Arrange your shells and glue your shells to your letter.
This is what took me the longest, I had to figure out how to glue the shells down. After about a hour my husband came up with the idea to stuff the shells with aluminum foil. After getting the foil formed we glued the foil to the shell then glued the shell to the letter.
Step 5:
Allow the glue to dry then you are finished.

Hobby Lobby Home Decor Haul


I decided to get things for my shelving. I have a six shelf layout, that I found on Pinterest and recreated and. I have half of the shelves filled and half that are empty so bought items for them. I have a blue (multi shades of bright blue), teal, gold, and brown beach theme going on in my home and I try to stick to that theme as much as I can for the rooms we did the beach theme for. I also added in a few odd pieces that kind of match other items in the room. Everything in our home kind of goes together in one way or another. I generally wont buy anything at Hobby Lobby unless it's on sale and this week was no exception, I got some pretty good deals. 


Friday, March 1, 2013

Peppermint Mochas


Ingredients:


Folgers Black Silk Coffee
International Delight York Peppermint Pattie Creamer (can use peppermints instead if you like)
Reddi Wip Extra Creamy Whipped Cream
Chocolate Syrup
Sweetener / Sugar (if desired)

If you are using Peppermint Pattie Creamer:
perk coffee normally
pour into glass leaving enough room for toppings and creamer
add York Peppermint Pattie creamer
add sweetener (if wanted)
than add whipped cream
and pour chocolate syrup over whipped cream
Enjoy!

If you are using peppermints:
Fill coffee maker with desired amount of water.
In empty coffee pot add 3 peppermints (if making more than 8 cups add 4-5 peppermints depending on how much flavor you want)
perk coffee
fill cup with coffee leaving enough room for toppings
add sweetener (if wanted)
add whipped cream
than pour chocolate syrup on top
Enjoy!

DIY Glass Gem Candle Holder


Crafting Information:
Time Took: 1/2 hour including drying time
Price Point: Cheap
Difficulty Level: Super easy

What You Need:
Glass Gems - Dollar Tree $1.00 per pack
Glass Container - Dollar Tree $1.00 each
Superglue
Candle - Walmart $1.00


Step 1:
Start gluing gems to one side of the glass.


Step 2:
Continue gluing gems around all four sides. Allow five minutes of dry time between each side, until you finish gluing gems.


Step 3:
After allowing for time to dry, insert candle then sit where you want.
Step 4
Light candle, then you are finished!

Wednesday, February 27, 2013

My New Coach Bag & Charm From The Outlet

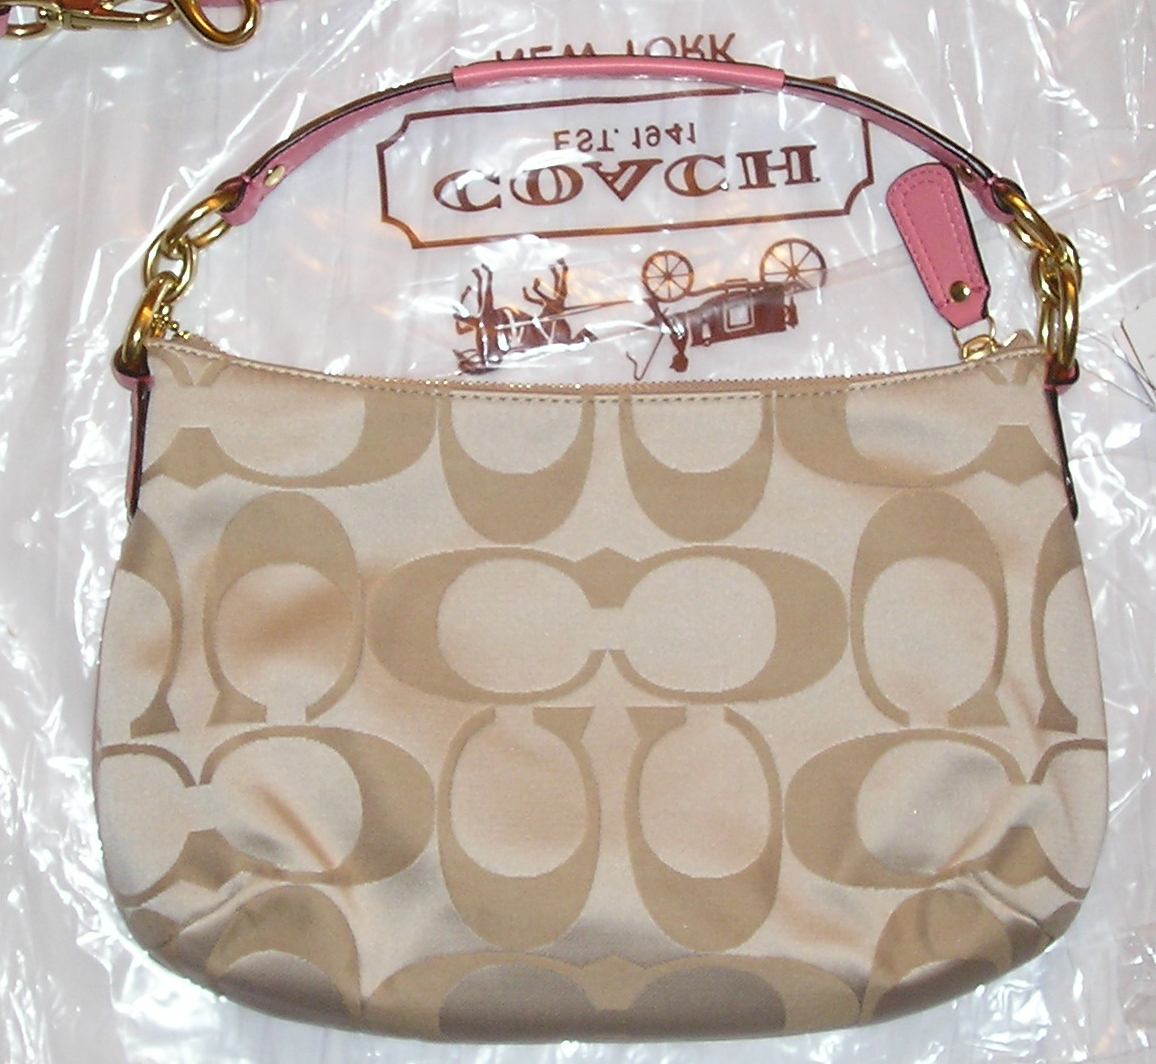
I've been looking at the Coach outlet online the past few weeks and never saw anything that really caught my eye until this week. I hadn't really planned on buying anything, I just like to look around at the outlet online all the time and see some of what is available. When I logged onto the sale the other day I saw the new MFF Kristin line and I was smitten, I knew I had to have one of the bags. I had a couple of bags that I liked picked out online the Satchel, Crossbody, and the Hobo. The only colors I liked was the Rose leather and the Signature with the Rose leather accents. It took me a little while to decide what one I wanted but I did decide on only one bag. I also got one of the charms I've been trying to find for awhile but hadn't found until now. This is actually the first time I shopped the sale online. I normally buy in store and prefer to make the long trip there because I get the actually see the items. I also feel there is much more of a selection and that prices are better in store. I'm pretty pleased with my online shopping experience and may in the future shop the online sale again. I got a pretty good discount on my bag and charm, which was 50% off. Well are you ready to see what I got? I also took modeling shots if you want to see how it wears and what it looks like.


UPS dropped off this little box this afternoon.


I opened the box ASAP...


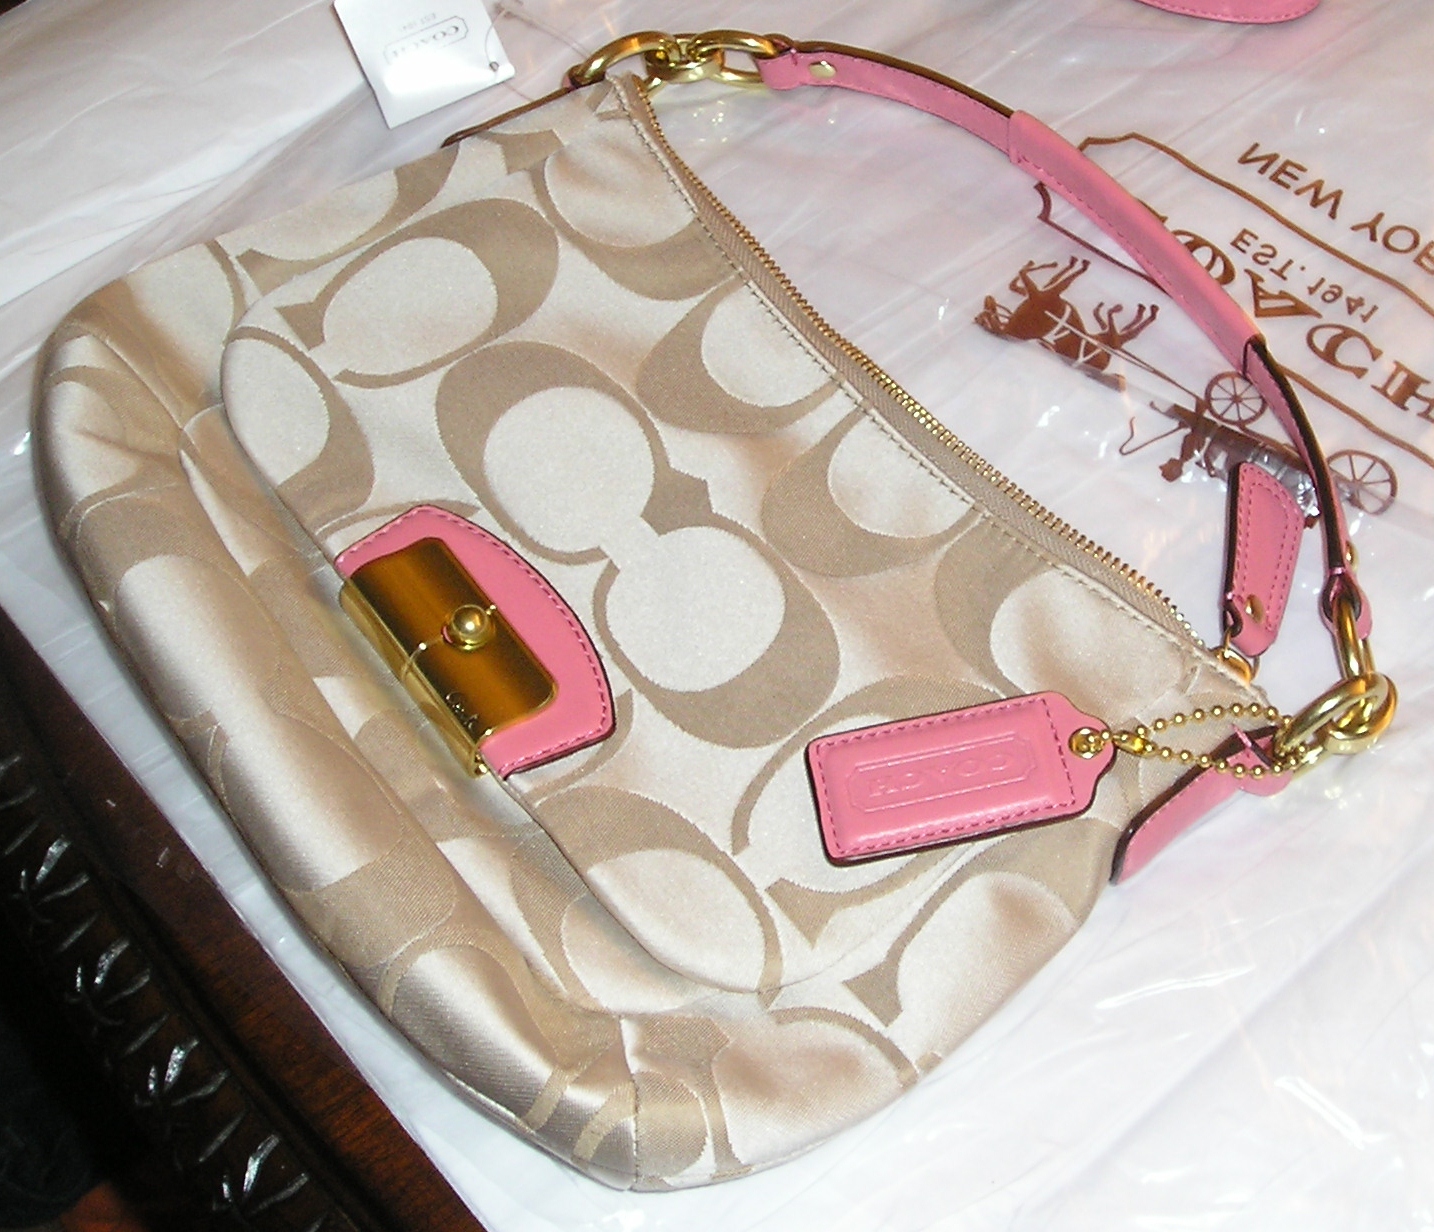
I bought the Kristin Signature East West Crossbody with Rose accents. I only paid $99.50 for it and that was with my 50% off discount applied(on top of a other discount).


Here she is out of the packaging, I adore her!


The crossbody strap on the bag comes off and this is what she looks like without the long strap.


Here is the strap, it is adjustable as you can see.


Here is what the back of the bag looks like.


This is what the bag looks like inside. I'm actually surprised by the size, it will hold a lot more then I had imagined it would.


Here is the tag for the bag


Here is what the buckle looks like, it has Coach imprinted on the buckle.


This is how to buckle opens.


The front pocket.


The hangtag.


The bottom of the bag.


I finally got the FP Tourmaline Tassel Charm I've been wanting for awhile but wouldn't pay full price for. I stalked outlets forever hoping to find it, and finally did. I got it for 50% off the original $38.00 price tag.


The bag can be wore five different ways on the arm, on the shoulder without the long strap, crossbody, in the hand like a pouch, and on the shoulder with the long strap. Here are some modeling shots of most of the ways to carry it and I had a few heavy items in the bag to give it some shape in most photos. Thank you to my husband for these shots! For reference I'm 5'7' and roughly 180 (AKA: Size 14 Wait, Large Top)

First on the arm without the long strap...


On the shoulder without the long strap...


Crossbody....


On the shoulder with the long strap...


Other random shots of the bag and charm...